Job Timeline (Ref 1625-1916)

Remote Returned to Customer
A Timeline of this job can be seen below.
Arrived - 28-Apr-2016
Fault Diagnosed
Remote Repaired
Payment Received
Returned - 03-May-2016

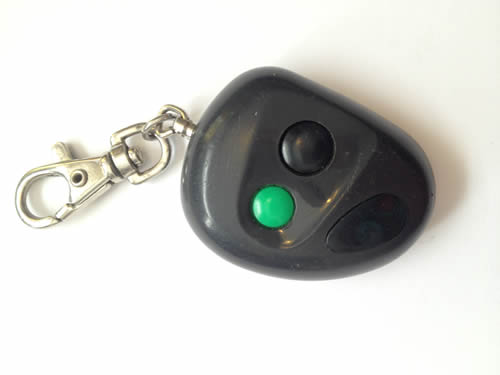

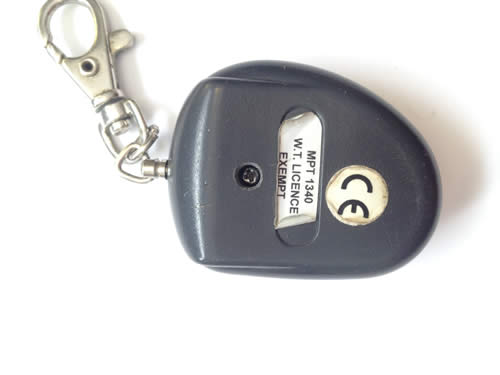
Unilift MPT 1340 Remote Repair Details
Manufacturer : Unilift
Model : MPT 1340
Customers Fault Description : Came with a house which I have just bought. Does not activate the door (a second remote control works fine).
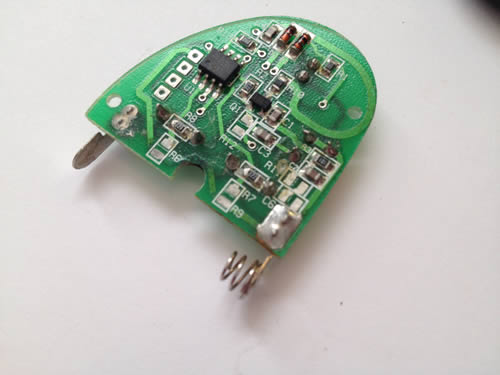
This garage door remote arrived safely with a battery inserted. On testing the remote the led was lighting up but no FR signal was being transmitted.
On opening the controller there was small areas of contamination around a few of the surface mount components. This was cleaned up which then revealed a poor solder joint on one resistor.
Once this was resoldered the remote was found to be sucessfully sending a RF signal.
Due to the contamination on the PCB it is highly possible that the remote need be reprogrammed with the receiver. i have included details below on how this is done.
Remote Images
billions of combinations.
All units are supplied with a factory set Hand Transmitter coded for use with the Green
button only.
Programming Additional Transmitters
CAUTION – When programming additional transmitters ensure
that the door is free from obstruction. When programming a
transmitter the door will operate when the buttons are pressed.
We strongly recommend that the cable connecting the motor to
the control box is disconnected to eliminate any chance of
personal injury. The light on the control box will indicate whether
or not the hand transmitter is working.
Two methods of programming can be used:-
A)
Programming using an active transmitter
Push both buttons on the transmitter for approximately 5 seconds, the receiver will “bleep” indicating it is ready to learn transmitter codes, release buttons.
Press the green button on the additional transmitter, the receiver “bleeps” to confirm it has learnt the code.(The receiver will not “bleep” if the transmitter code has already been learnt.) After about 10 seconds the receiver will “bleep” twice to indicate the learning cycle is complete.
B)
Programming using the receiver
Turn off power and carefully remove the control cover and locate the receiver box inside (Black box), then turn the power back on.
Push and release the programming button (see diagram C), the receiver will “bleep” indicating it is ready to learn transmitter codes.
Push the green button on the transmitter the receiver “bleeps” to confirm it has learnt the code. Wait approximately 10 Seconds, the receiver will “bleep” twice to indicate the learning cycle is complete.
Repeat this operation for as many transmitters as you require.
Erasing Memory – Deleting Learnt Transmitter Codes
Carefully remove the control cover and locate the receiver box.
Push and hold the programming button for approximately 10 seconds, three short “bleeps” will be heard confirming all the transmitter codes in memory have been erased